So this past weekend, I made an emergency trip to DC to become a professional-hobby plumber. Apparently in the time my house had spent empty made the tree roots in the main sewer line grow huge and clog the line in their endless search for water. After some fighting with “pro” plumbers about snaking the drain and their efforts failing, I bought a plane ticket out there. It was cheaper the fly out myself and do the work than to hire another “pro”.
So, Jay and I first tried to snake the drain. We successfully put the entire snake down there… then, when pulling it back out, it became stuck! I pulled and pushed… but it wouldn’t budge. Jay and I took turns listening around the house to determine where it was stuck. Jay placed a brick where we thought it was just as I was giving the snake one last final tug. The snake snapped… and slowly came out minus the cutting end! I’ll leave out the colorful language, but trust me, I wasn’t happy. We returned that snake, and after demonstrating my great debating skills to the store manager, he canceled the rental contract and sent us on our way with his condolences.
We had a lot of work in front of us… so we bought a shovel and borrowed a small pick axe. We dug huge hole through hard clay: 3ft wide by 4ft long by 3.5ft deep! We found the place where a previous owner had connect a new main-sewer line to the old clay pipe. Right next to that was a junction point in the old clay pipe. It was there, in the junction, that roots galore flowed into the pipe. We had found the problem! And only after one day of back-breaking digging!
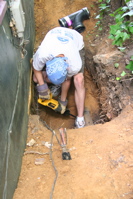 So the next day, we bought a Saws-All and nice set of metal blades. Jay started cutting… and cutting… and then I cut… and cut… and nothing! We hardly scratch the pipe! Apparently what we thought to be cast iron was actually hardened steel! Back to Home Depot to buy a better blade: a “grit cutter” blade. This thing was incredible. It still took ~2 hours to cut the pipe out, but we got it out.
We were hoping to be able to pull out some of the tree roots from the hole, but we couldn’t really get to any of them. So… we rented another snake. We successfully pulled out ~5lbs of tree roots! To test the drain, I put in a rubber “y” while Jay returned the snake. Sure enough… you guessed it… it STILL DIDN’T DRAIN!!! It was late, so we called it a day and went to sulk in our beer.
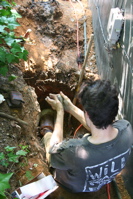
Day 3… Jay had hurt himself, so I was working by myself. I rented another snake and start pushing it in and out. I should certainly mention the working conditions here. Once we cut the pipe, raw sewage came flooding out into our pristine hole. The hard clay absorbed the black nastiness and smell never really went away. So… back to the snaking. Every time I pulled the snake out, a small gush of sweet smelling black tree roots accompanied it. This was obviously the problem. I very slowly started pushing the snake back in for one final cut. I waited every 2-3in until there was no “cutting” action felt with each turn of the snake before pushing it in further. Then, the snake became stuck! It wouldn’t go forward, nor backward; in fact, it wouldn’t even turn. It was completely bound up! Again… colorful language spewed from my mouth like sewage from a cut sewer pipe. I tried to put a little more tension on the snake to pull it out. Then… SNAP. The outside “sping” section of the snake had broke, leaving only the safety steel inner cable. 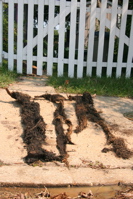 I stopped using the spinning function of the snake and just started tugging on the snake to get it out. While doing this, the entire clay-junction was moving all around. I deduced there was a huge chunk-o-tree-root pulling at the junction. The junction had to come out.
 This is what came out of the drain with the broken snake! Another +10lbs of tree roots! Now… on to patching the junction in the clay pipe. Luckily, on one of my many trips to Home Depot, I found this amazing epoxy putty. This stuff hardens to rock in only 3-4 minutes, even under water. I bought all they had and started filling in the huge gap in the junction and large holes left by the now missing tree roots. I put our “y” back in and installed our clean out, then tested away. And the water flowed!!! THESE PIPES ARE CLEAN! I dumped a bunch of copper sulfate around our work to prevent further root infestation, and called it a day. I left the hole there for Jay to fill later incase another problem came up.
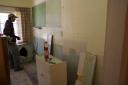
 I then went to meet up with my DC friends. I had only ~12hrs left in DC. So what did I do with my friends? I painted their apartment! I can’t get away from this home improvement thing! This is Sara, Meg, and John painting Sara’s apartment. Thanks everyone for showing me a great time.


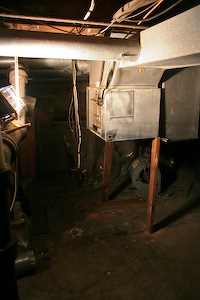 Even though it’s been unusually warm around here, I made the decision to replace the furnace. The old beast was working, but with gas prices so high its ~50% efficiency left a huge hurt in the gas bill.
 Then I built the return plenum and repaired some of the poorly done vent ducts. To connect the gas, I cheated… I used a flexible gas pipe to get from the valve to the furnace. Easy, cheap… no leaks. Lastly, I connected the new super-fancy computerized thermostat. This alone should cut my heating/cooling cost significantly.


 For the past several weeks I’ve been too busy with
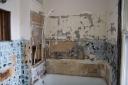
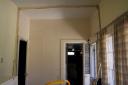
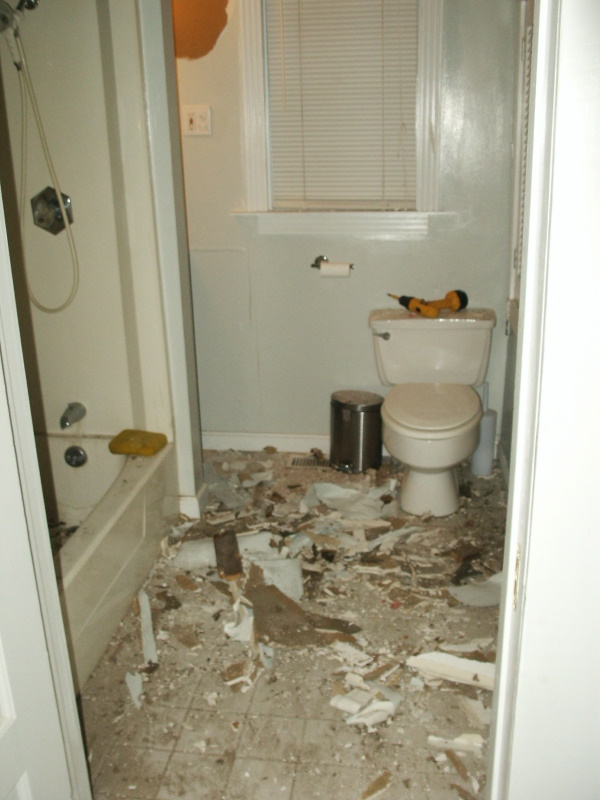
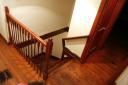
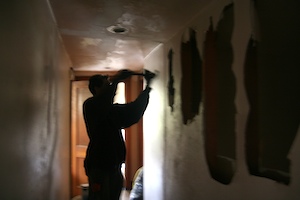
 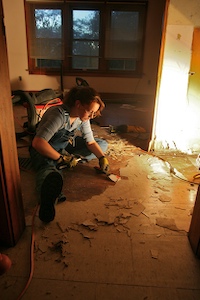 We are both extremely excited about how the upstairs is looking. It is much more welcoming with the new lighting, and roomier with the wall half gone. This week, every free minute will be use to start cleaning up so we can start the finishing work. There is one large area that needs drywall, but there are also several smaller holes and places that need patching. Then paint, clean and RENT!
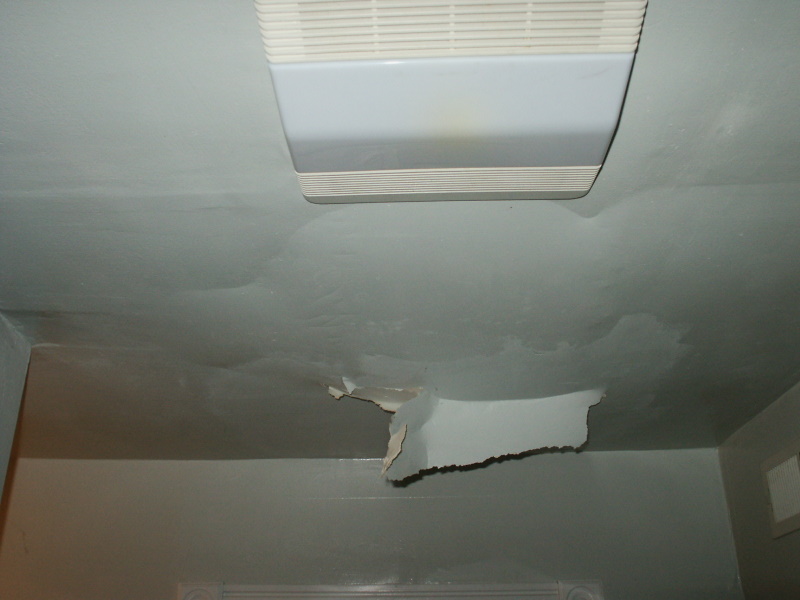
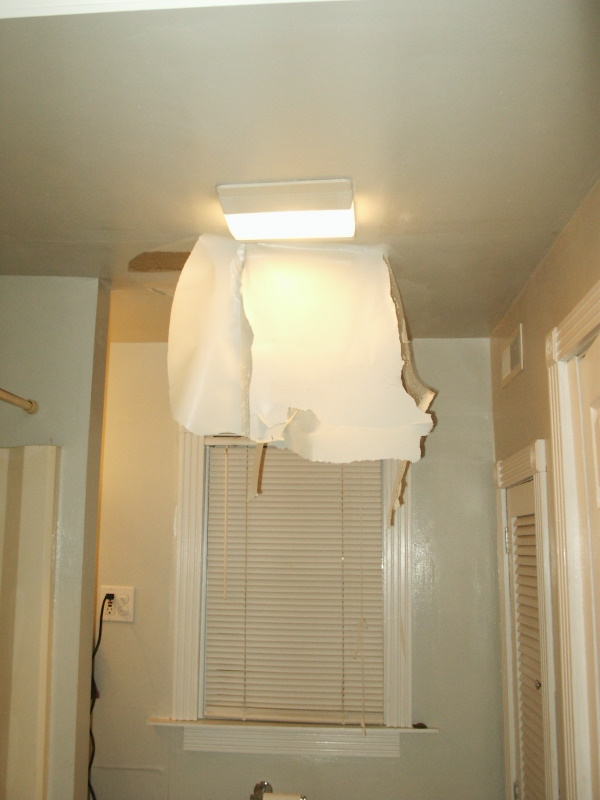
 We made progress in wiring the upstairs. Now we just have one bathroom and one bedroom to wire. I also put in some low-voltage backboxes so I can can put in CAT5 (for ethernet or phone) and maybe coax at a later date. Liz also patched all the extra large holes I made…
 In the process of finding a good path to pull new wiring from the basement, we decided that our numerous sorta-unwanted housemates had to die! That’s right… spiders. I know spiders provide a good service in reducing bugs and all… but I think we had just a few too many. As I was putting the glow-in-the-dark wire-puller up the wall, several of our smaller housemates dropped down on me to say “hi”. I don’t like spiders, but I leave them alone if the leave me alone. If they are in my space, I move them. However, if they touch me… Game over! Meet Mr. Fumigator!
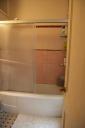
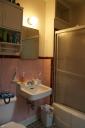
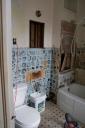
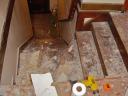
 A minor victory has been won against the sink in former Apt 4. See… I decided to replace the faucet with a nicer one since the old hardly work and was pretty nasty. With the new came a new drain stopper and assembly. I thought, “Heck, I’ll just replace the entire p-trap.” In the process of removing the old formerly-chrome-now-rust p-trap, a small section of the cast iron drain pipe in the wall came out with it. This certainly made an easy job very difficult.